

Table of contents
- Create a new repository on GitHub and clone it to your local machine
- Make some changes to a file in the repository and commit them to the repository using Git
- Push the changes back to the repository on GitHub
- Set your user name and email address, which will be associated with your commits.
- Create a repository named "Devops" on GitHub
- Connect your local repository to the repository on GitHub.
- Create a new file in Devops/Git/Day-02.txt & add some content to it
- Push your local commits to the repository on GitHub
Create a new repository on GitHub and clone it to your local machine
Open your web browser and go to GitHub's website (https://github.com). Sign in to your GitHub account. If you don't have one, you'll need to create a new account. Once you're signed in,
click on the "+" button on the top-right corner of the GitHub homepage and select "New repository."
On the "Create a new repository" page, provide a name for your repository in the "Repository name" field. Choose a descriptive and meaningful name. Please find a screenshot below:
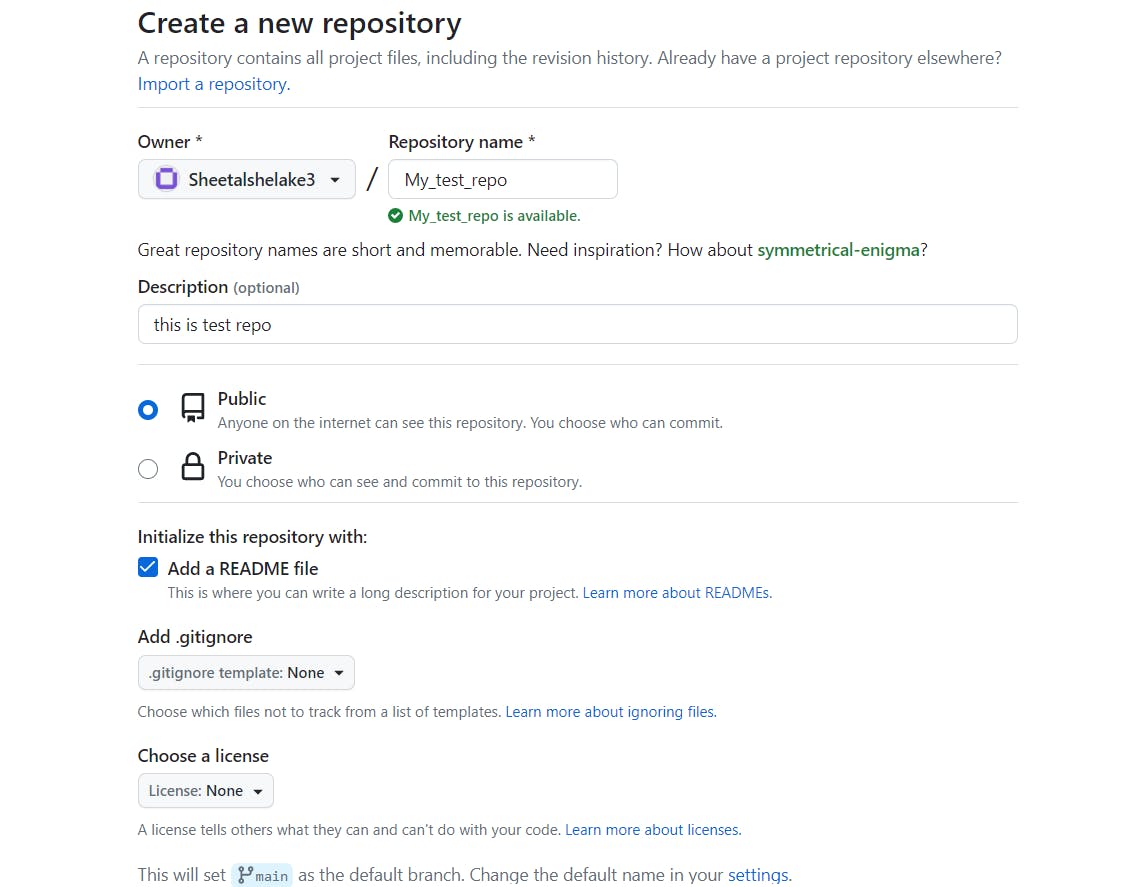
Optionally, you can add a description for your repository in the "Description" field.
Select the visibility of your repository. You can choose to make it either public or private, depending on your needs.
If desired, initialize the repository with a README file, a .gitignore file, or a license.
Once you've filled in the required information, click on the "Create repository" button.
Now that you've created the repository on GitHub, you can clone it to your local machine using Git. Here are the steps for cloning the repository:
Navigate or create a new directory where you want to clone the repository. You can use the cd command to change directories and mkdir to create a new directory.

Here I have created a new directory named as : My_Local_Repo"

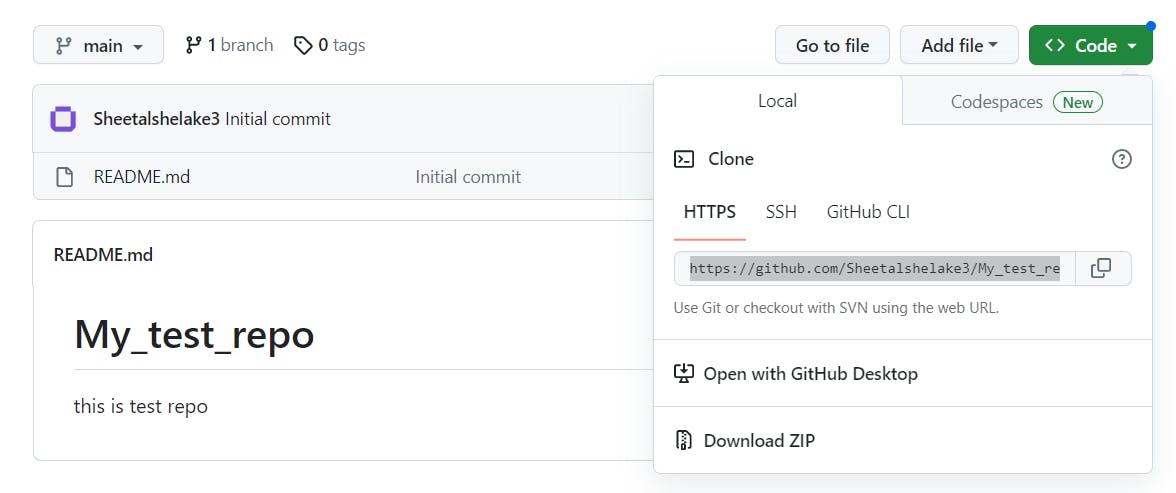
To clone a repo from github to Git on local system you will need a URL, you can take a URL in the following way:
Go to GitHub and select the repository which you want to clone to locally.
Inside the repository, you will find the option as code, select that option and select HTTPS, copy the URL from there.
Please find screen shot for that below:
run the git clone command as below:

- the repository will get a copy in your local system.
Make some changes to a file in the repository and commit them to the repository using Git
Create a file using touch command below:

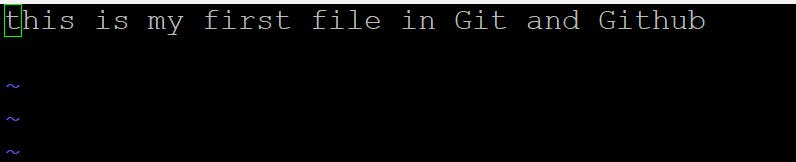
write some data in the file myfile.txt. please find a screenshot below:

Run git init command.

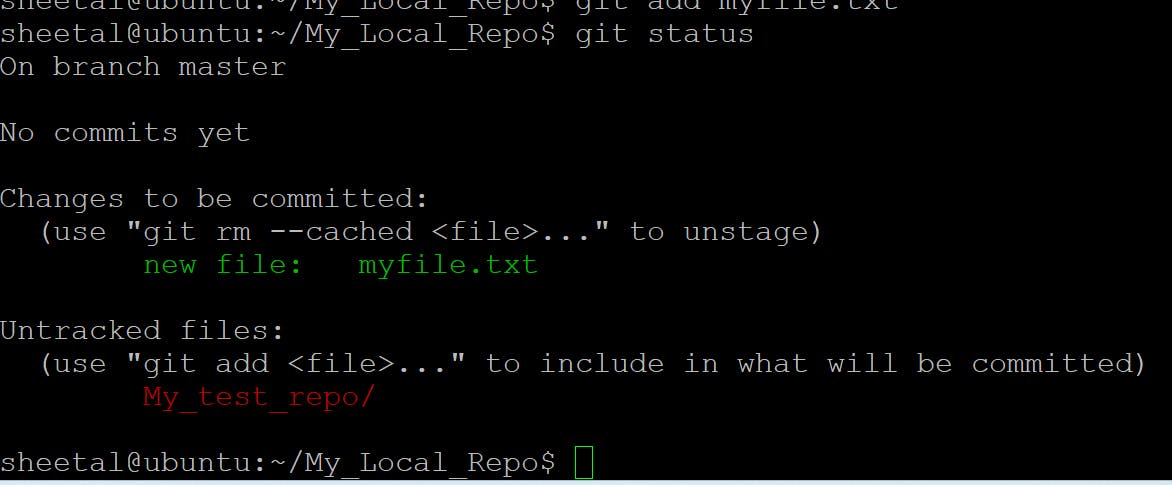
Add file to the staging area.

Check the status of a file by using the git status command:
Run git commit command to save the changes in local repo:

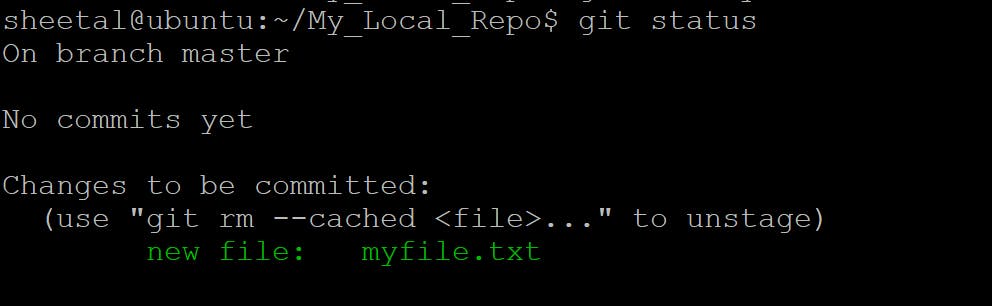
Check the git status if the file has been saved to the local repo or not.
Push the changes back to the repository on GitHub
To push the changes to GitHub run the commands below
Set your user name and email address, which will be associated with your commits.
To set your user name using the git config command with the --global flag to set it globally across all repositories:
git config --global user.name "Your Name"
git config --global user.email "your-email@example.com"
Commands:

Create a repository named "Devops" on GitHub
To create a new repository on github please use the steps below:
Click on Create a new repository.
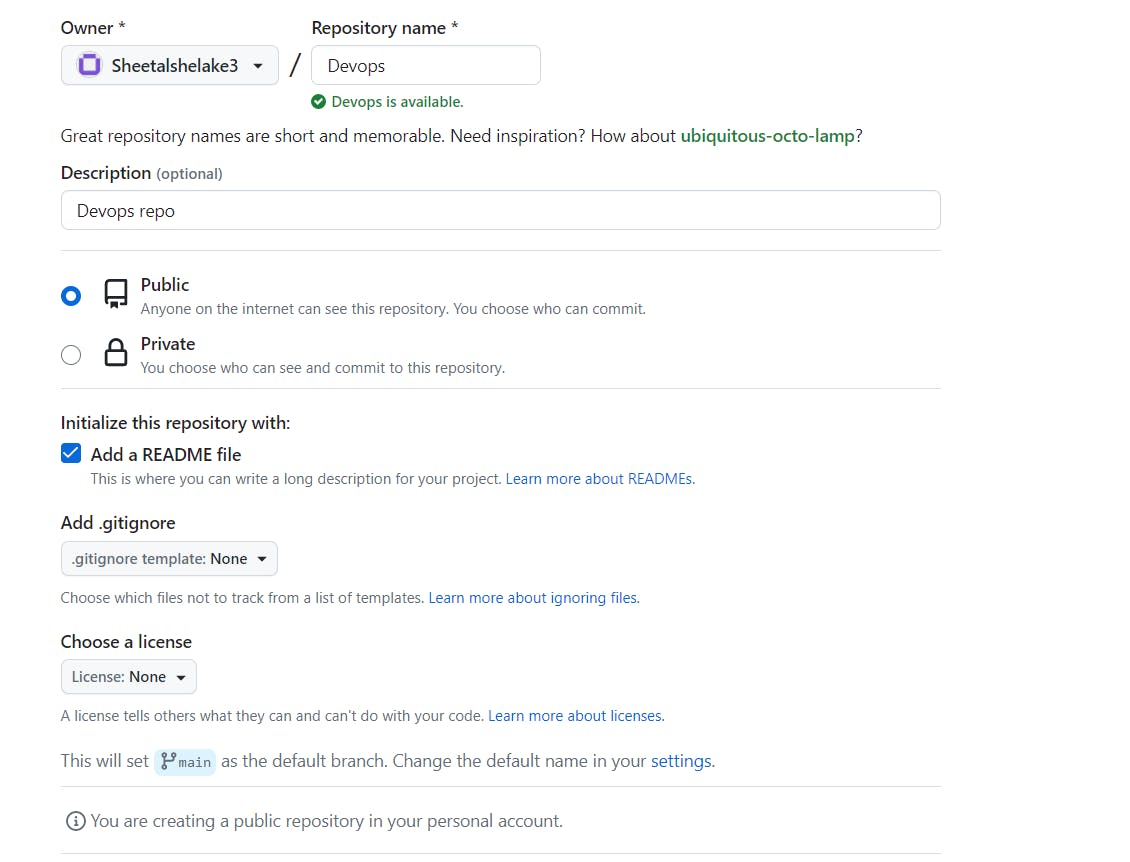
under the box Repository name, give the name as DevOps.
then add the description which you want to add.
choose the option to keep the repository private or public.
click on read on add readme. This is where you can write a long description for your project.
change the options for Add .gitignore and Choose a license at your convenience.
click on create a repository.
Please find screen shot below
Connect your local repository to the repository on GitHub.
To connect the local repository to the repository in Github, you need to use the steps below:
Create a new repository on GitHub: Go to the GitHub website (github.com), log in to your account, and create a new repository by clicking on the "New" button. Provide a name and configure any desired options for your repository.
Initialize a local Git repository: Open a terminal or command prompt on your local machine and navigate to the directory where you want to create your local repository.
Use the following command to initialize a new Git repository:
git initAdd files to the repository: Copy or create the files you want to include in your repository into the local repository directory.
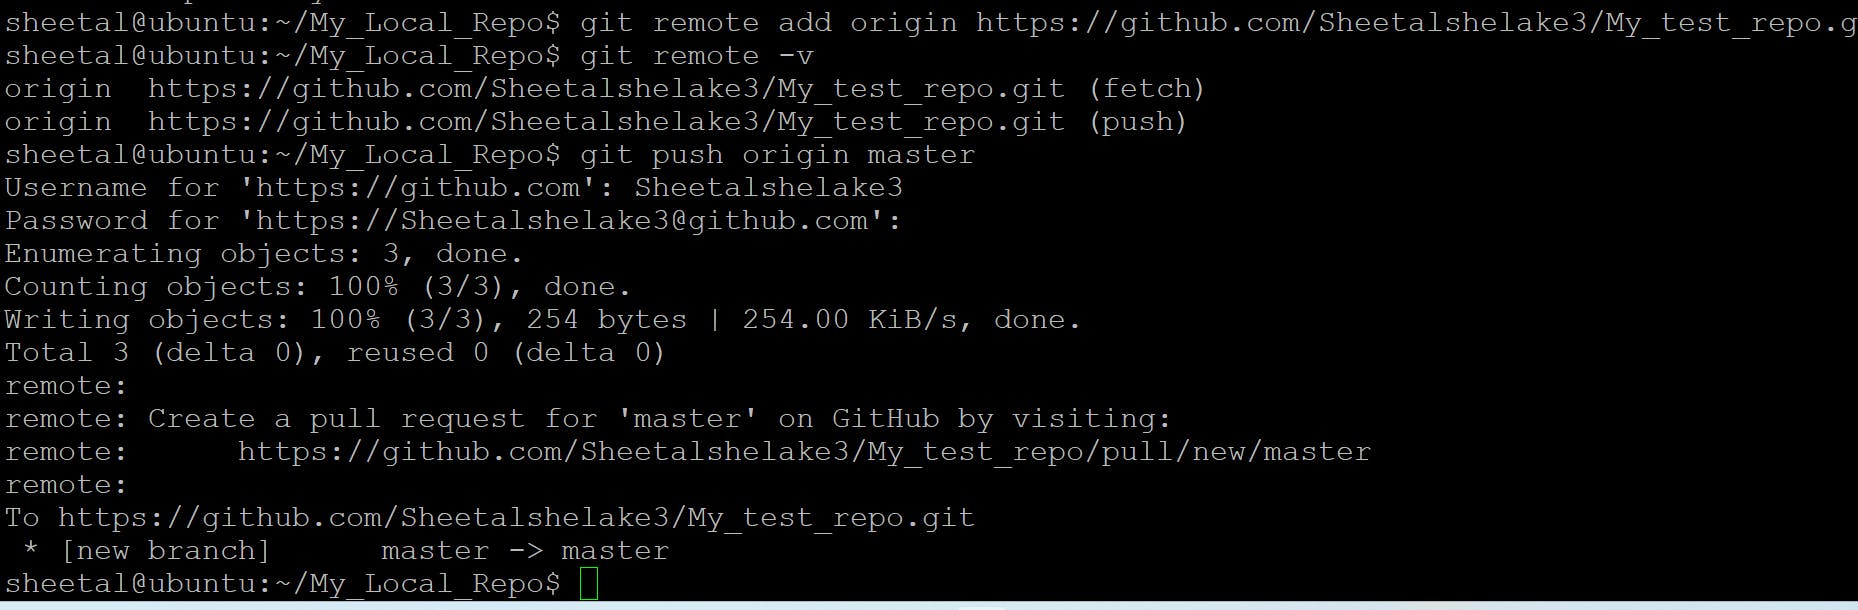
Add the remote repository: In the terminal or command prompt, use the following command to add the remote repository URL to your local repository:
git remote add origin <remote_repository_URL>Replace
<remote_repository_URL>with the URL of the GitHub repository you created in step 1. This sets up a connection between your local repository and the remote repository on GitHub.Verify the remote configuration: To ensure that the remote origin has been set correctly, you can use the following command:
git remote -vIt will display the remote repository URL associated with your local repository.
Commit your changes: Use the following commands to stage and commit your files to the local repository:
git add .
git commit -m "Initial commit"
The first command stages all files in the repository, and the second command commits the changes with a commit message.
Push the changes to GitHub: Finally, push your local repository's commits to the GitHub repository using the following command:
git push -u origin masterThis command pushes the commits to the
masterbranch of the remote repository.If your main branch is named differently (e.g.,
main), make sure to replacemasterwith the appropriate branch name in the command.
After completing these steps, your local repository will be connected to the repository on GitHub, and you can continue to push and pull changes between them using Git commands.
Example:
Create a new file in Devops/Git/Day-02.txt & add some content to it
- Create the folder named "Day2". below.

Create the txt file as Day2.txt

Add some content to Day2.txt using vim or any editior


To see content in file use the cat command

Push your local commits to the repository on GitHub
To push your local commits to a repository on GitHub, follow these steps:
Ensure you are in the root directory of your local Git repository. Open a terminal or command prompt and navigate to the correct directory if needed.
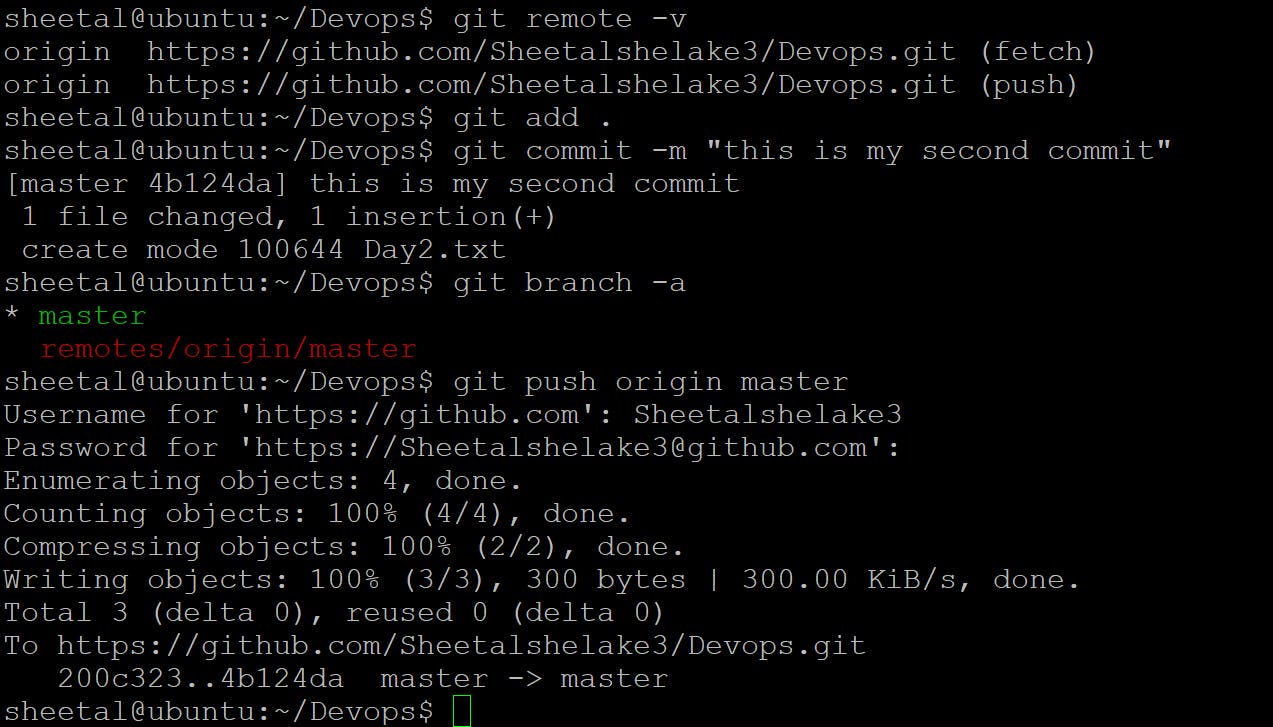
Verify the remote configuration: Run the following command to check the existing remote configuration:
git remote -v
This will display a list of remote repositories associated with your local repository. Make sure that the remote origin is correctly set to the GitHub repository you want to push to.
Stage your changes: Use the following command to stage all modified and new files for the commit:
git add . If you only want to stage specific files, you can replace . with the file paths.
Commit your changes: Commit the staged changes with a descriptive message using the following command:
git commit -m "Your commit message" Replace "Your commit message" with a meaningful description of your changes.
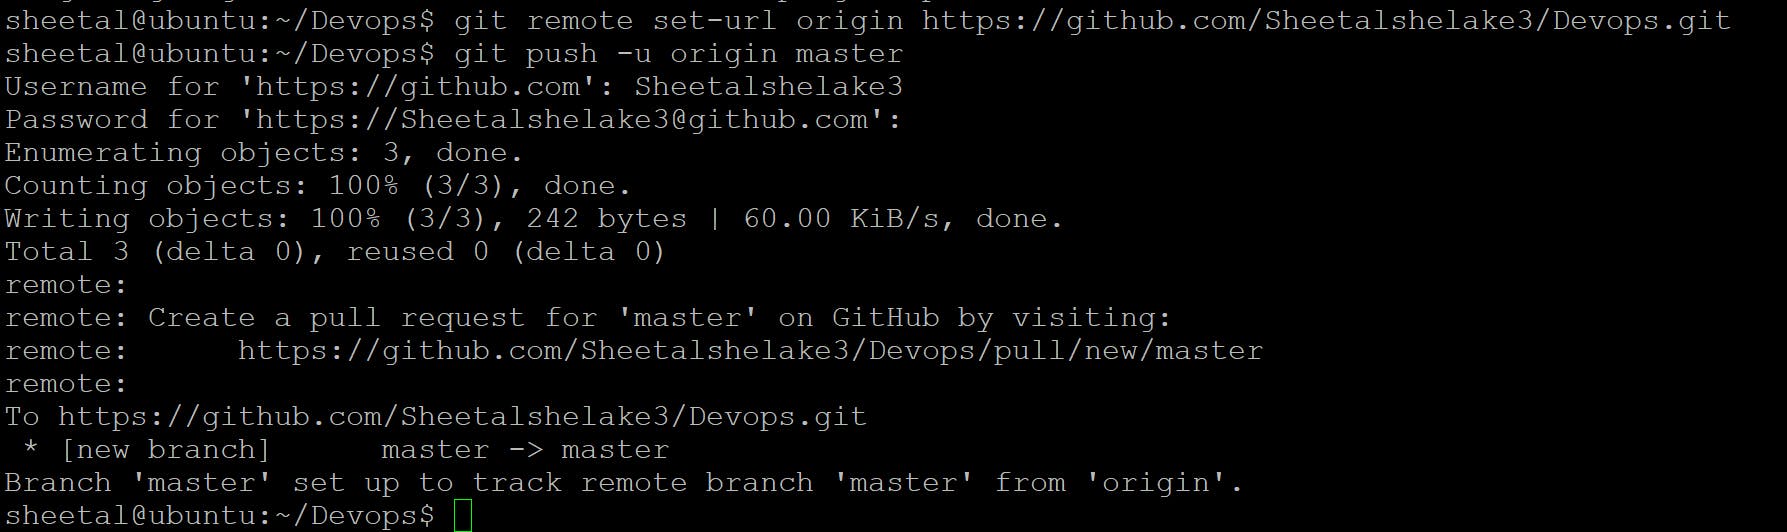
Push your commits: Finally, use the git push command to push your commits to the remote repository:
git push origin <branch_name>
Replace <branch_name> with the name of the branch you want to push. Typically, the main branch is called master or main.
If this is your first time pushing to the repository, you might be prompted to provide your GitHub username and password or a personal access token (PAT) for authentication. Enter the required credentials to proceed.
After executing the git push command, Git will upload your local commits to the corresponding branch on the GitHub repository. The changes should now be visible on the GitHub website.